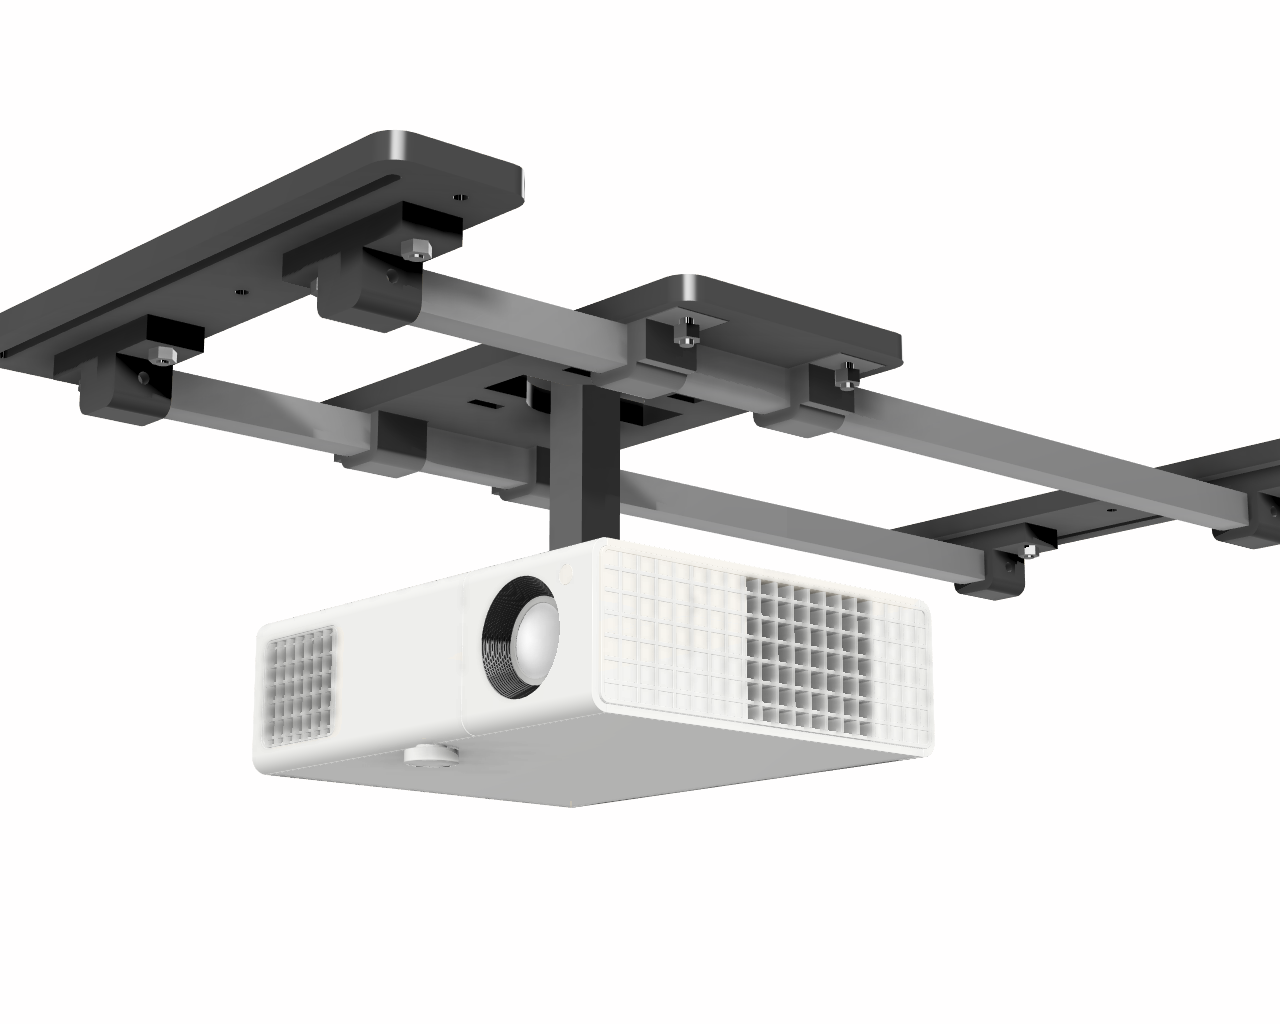
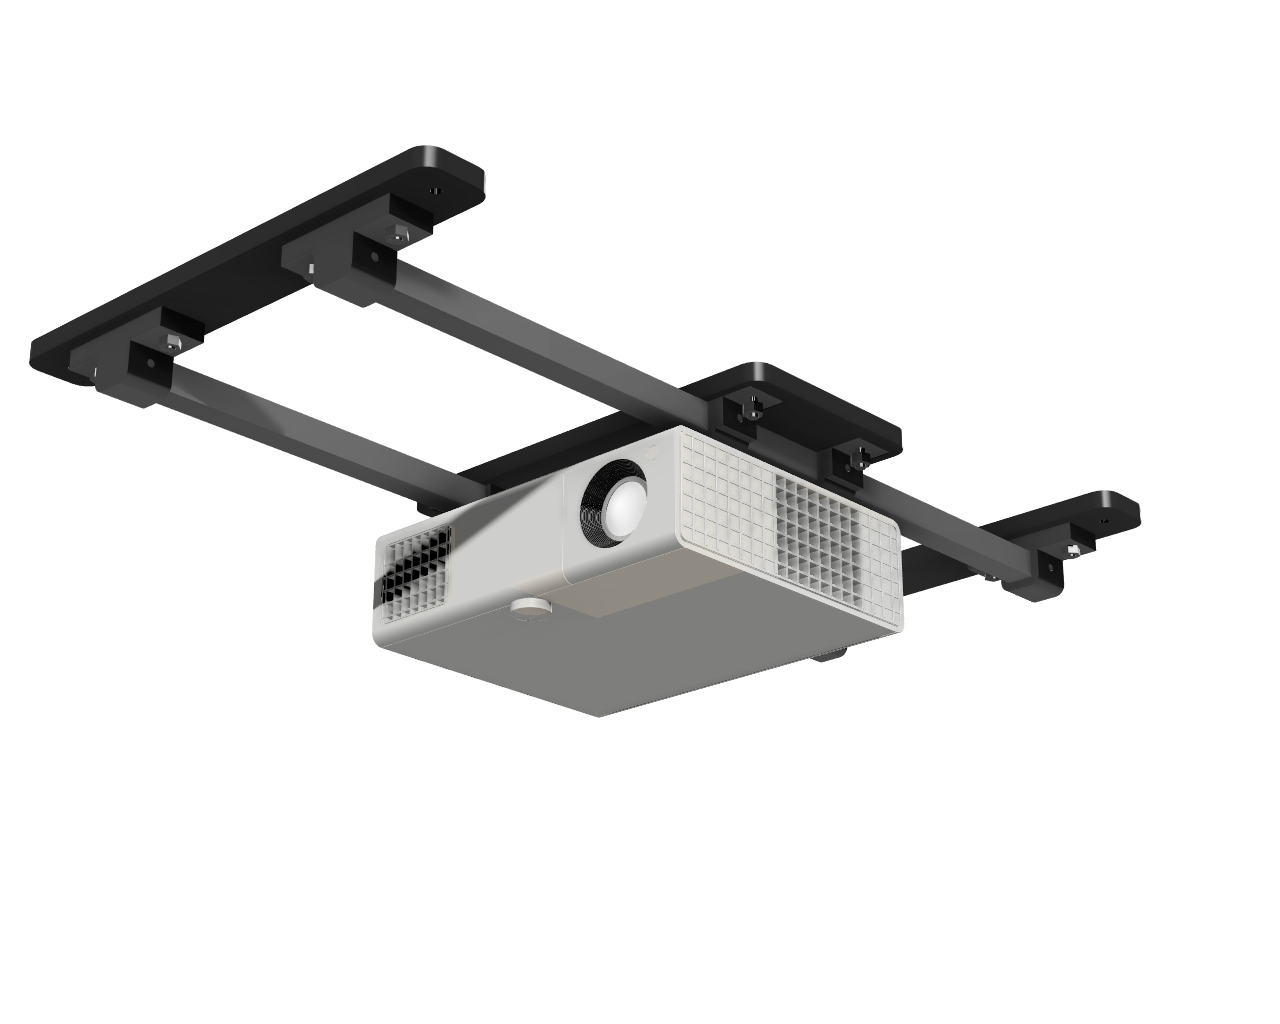
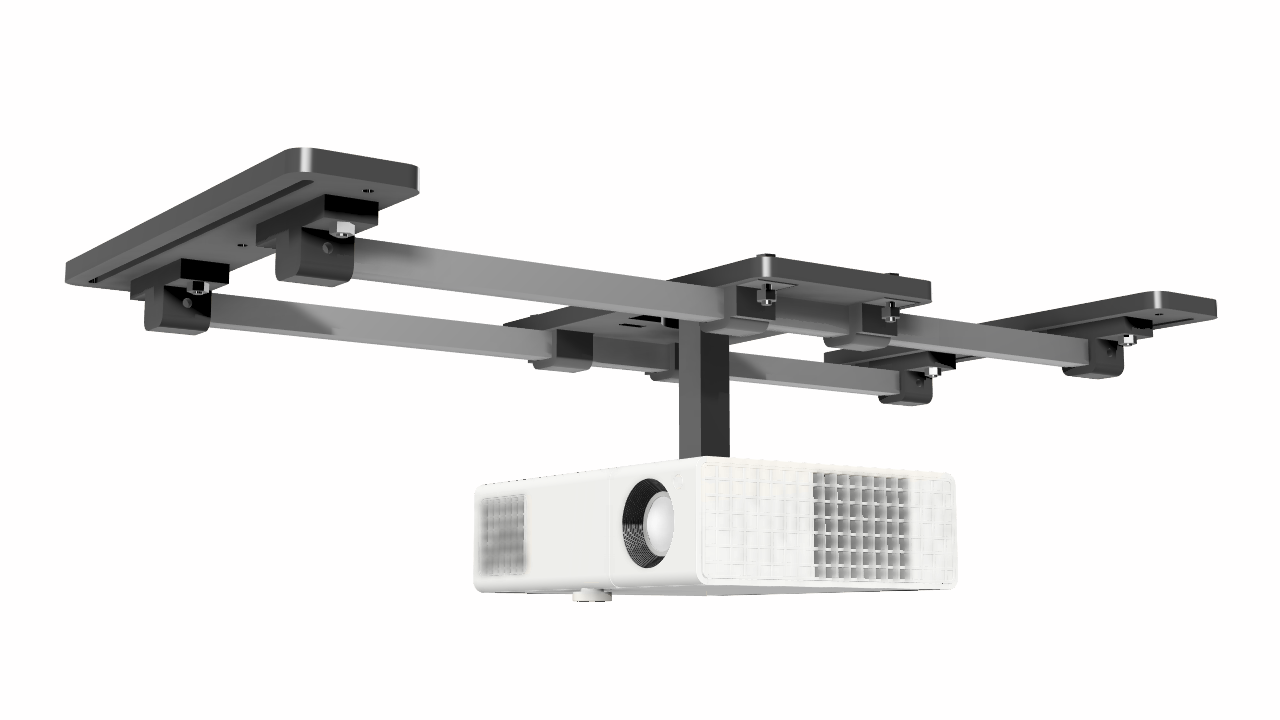
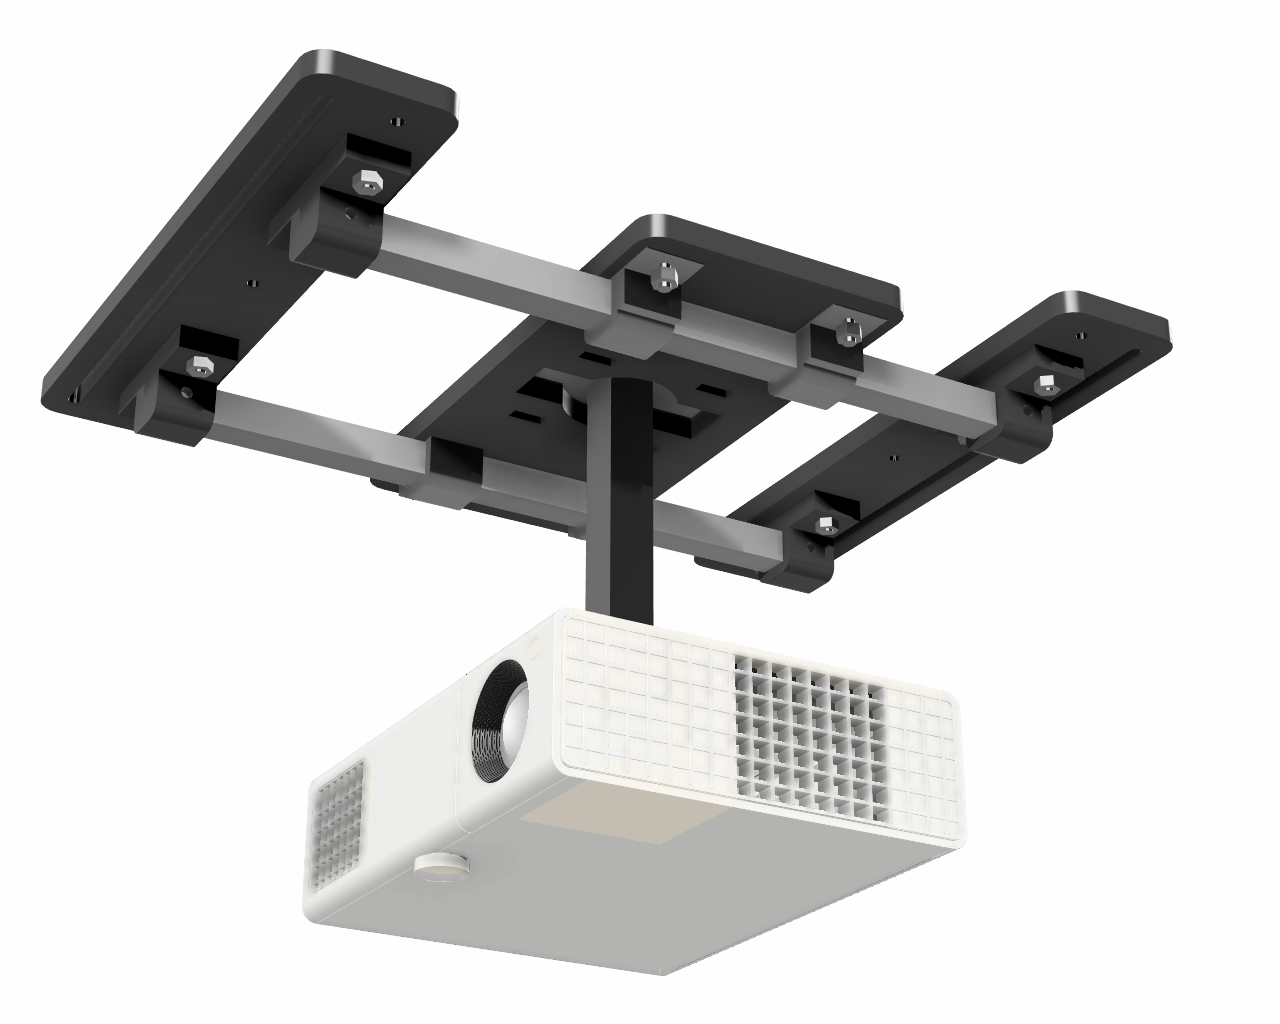
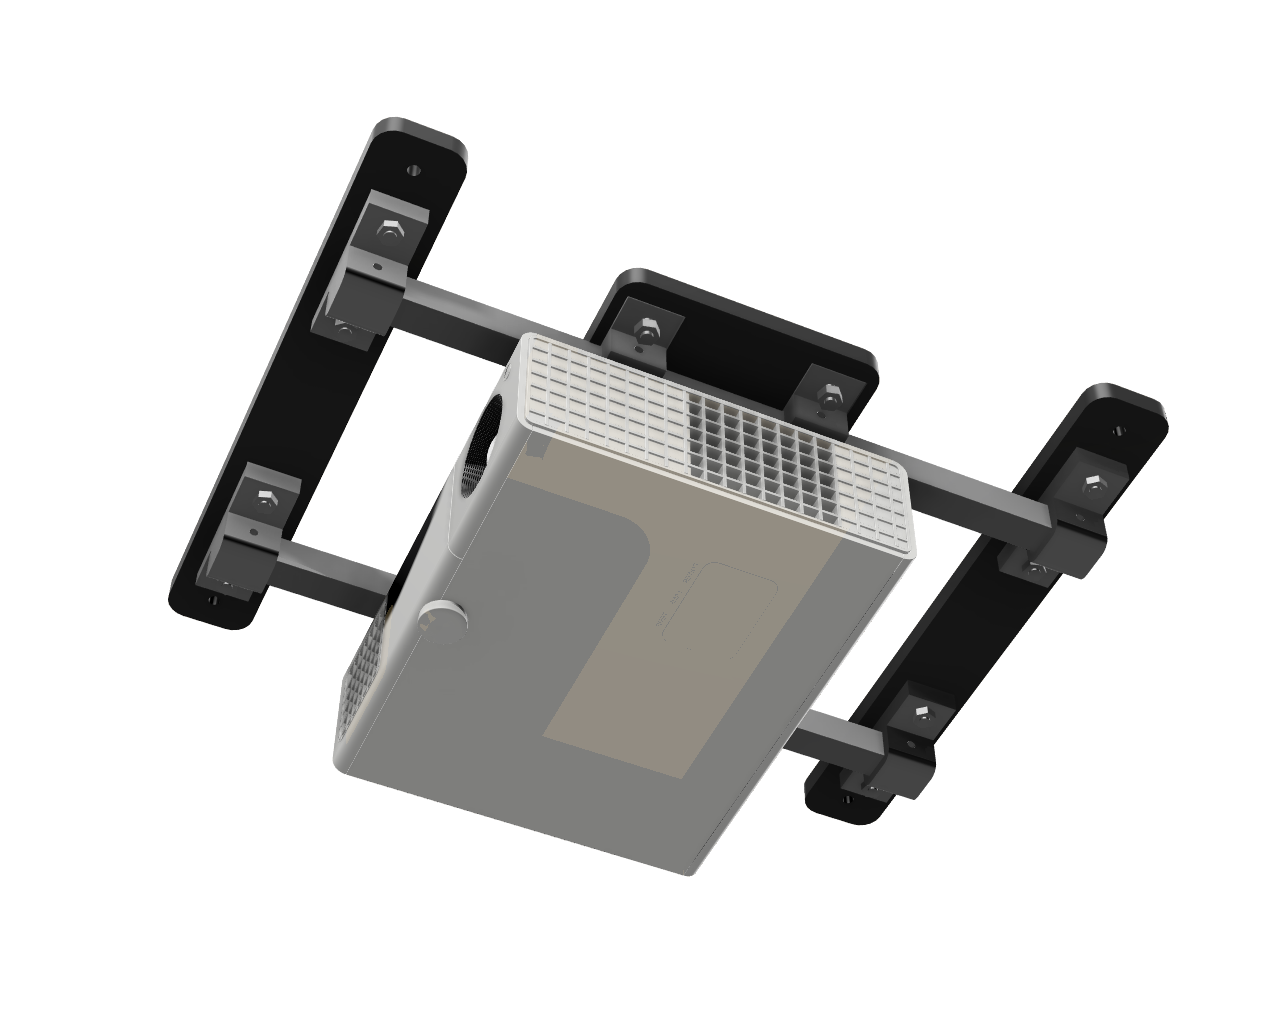
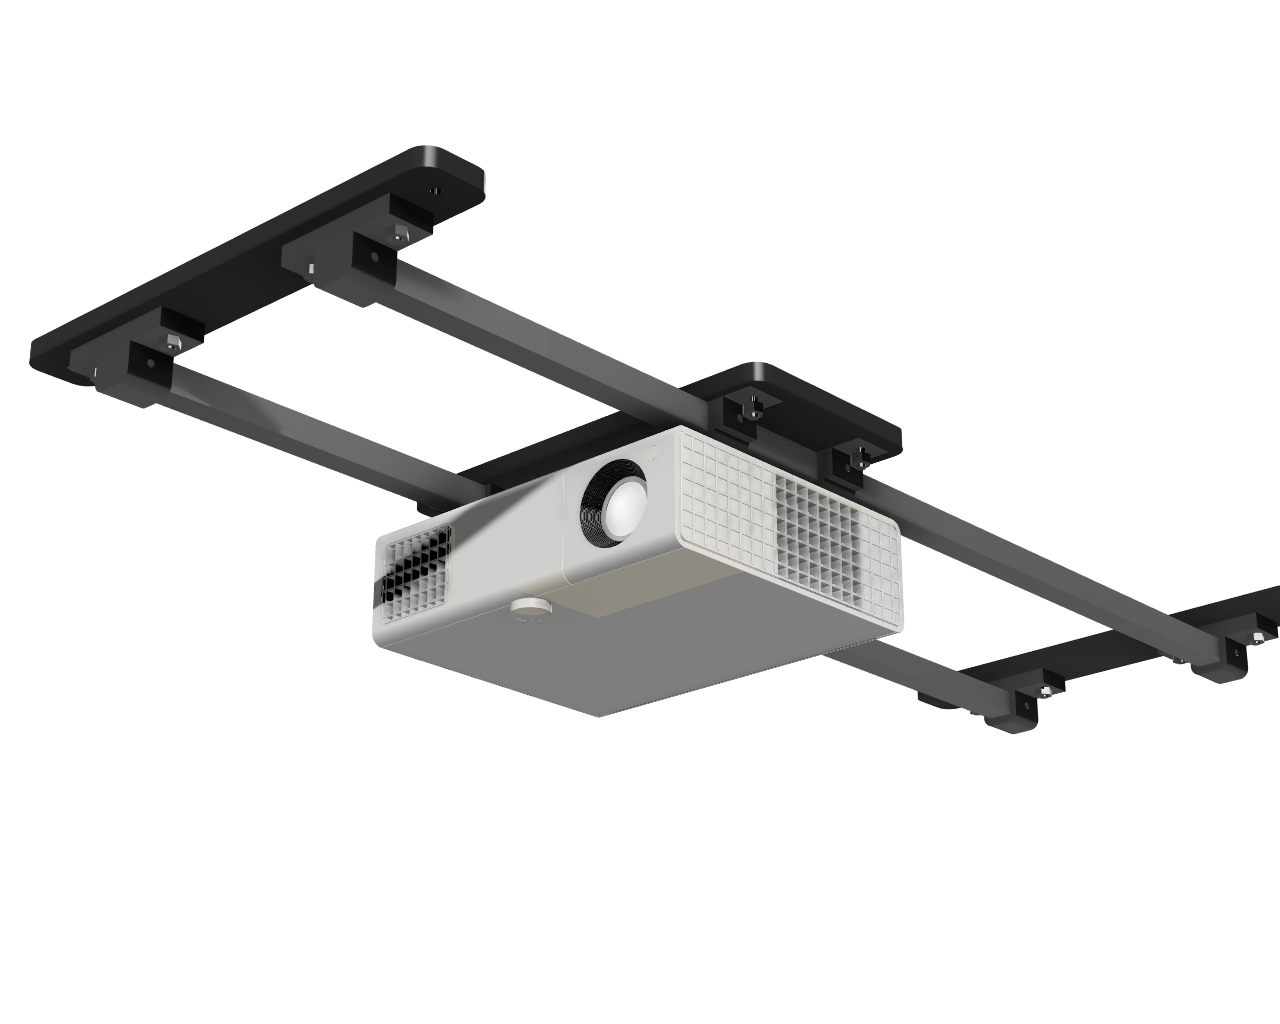
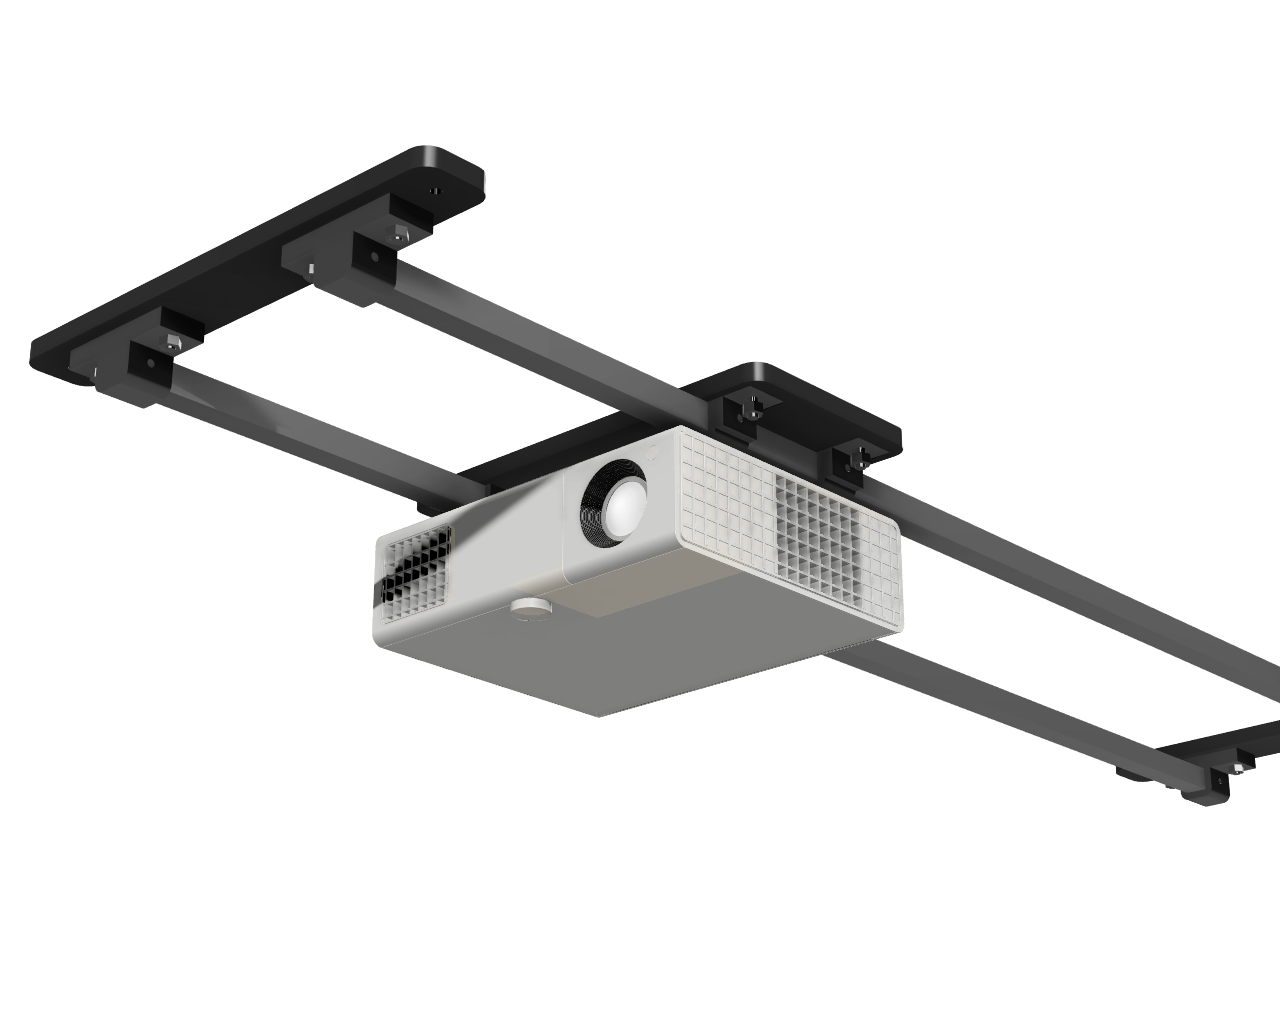
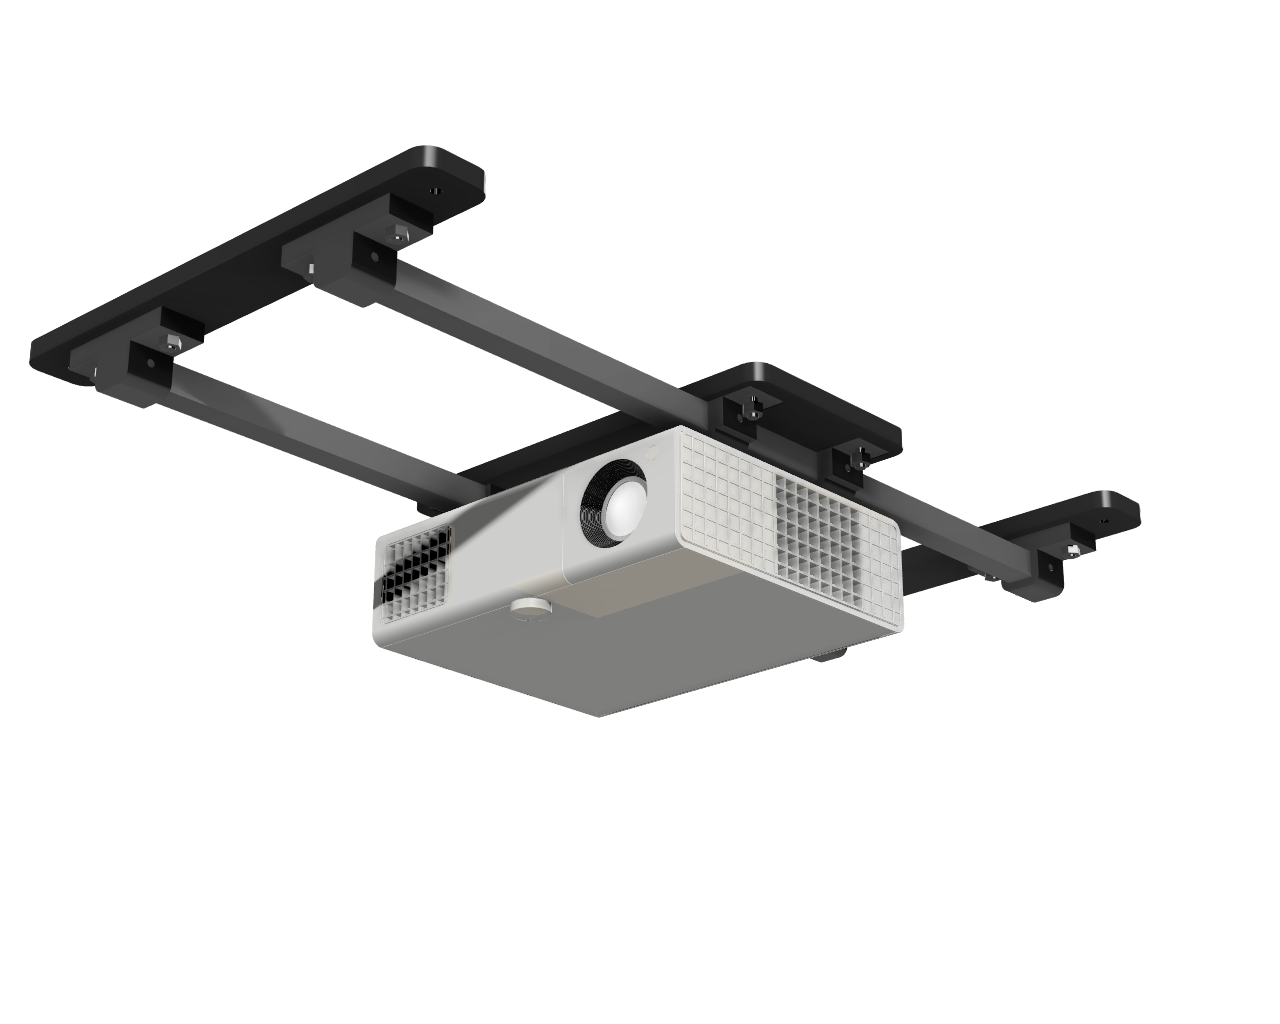
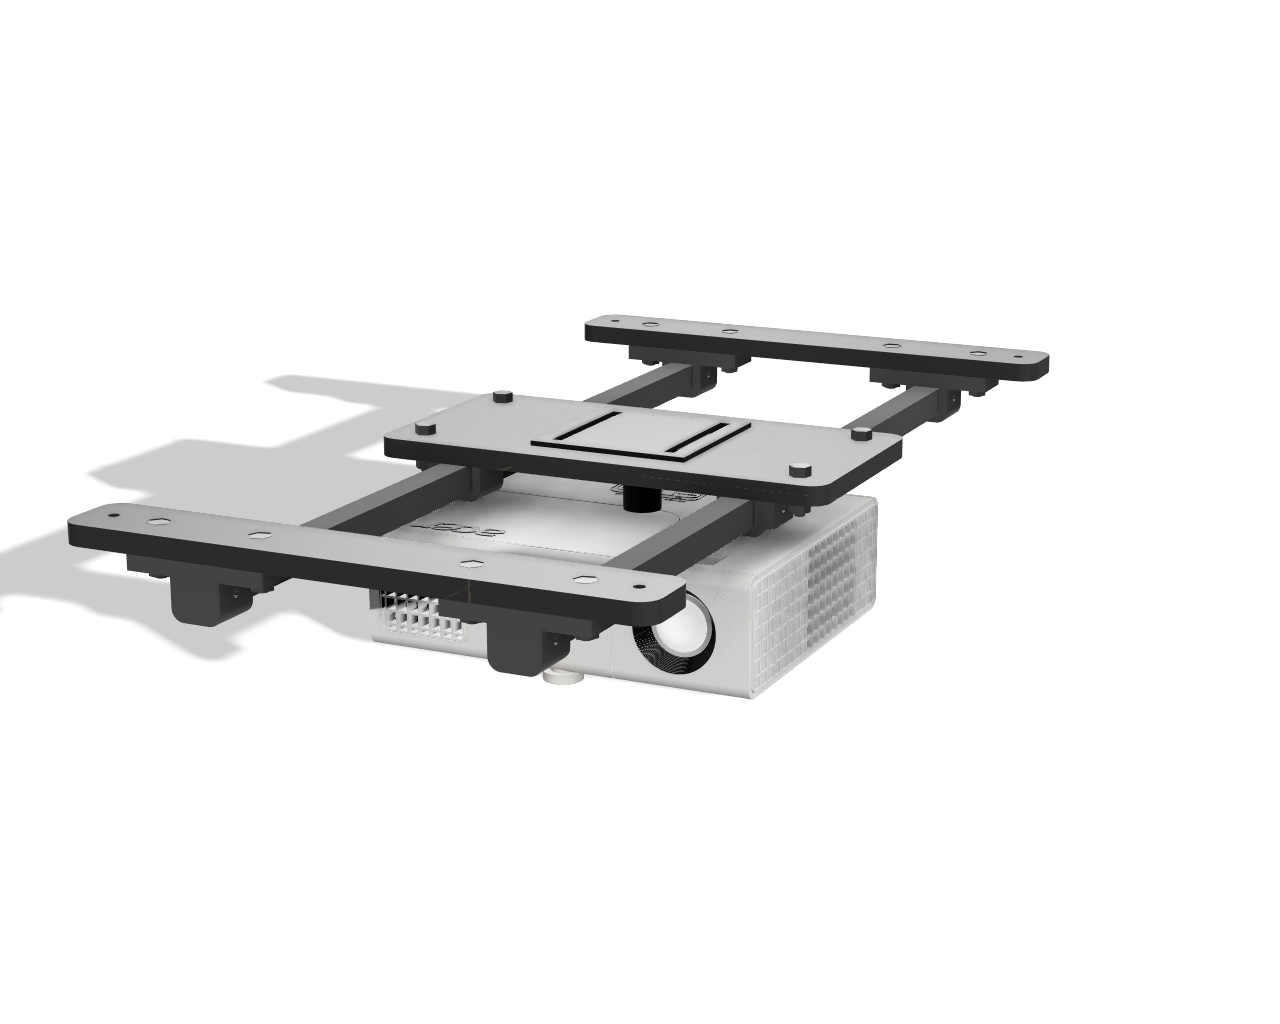
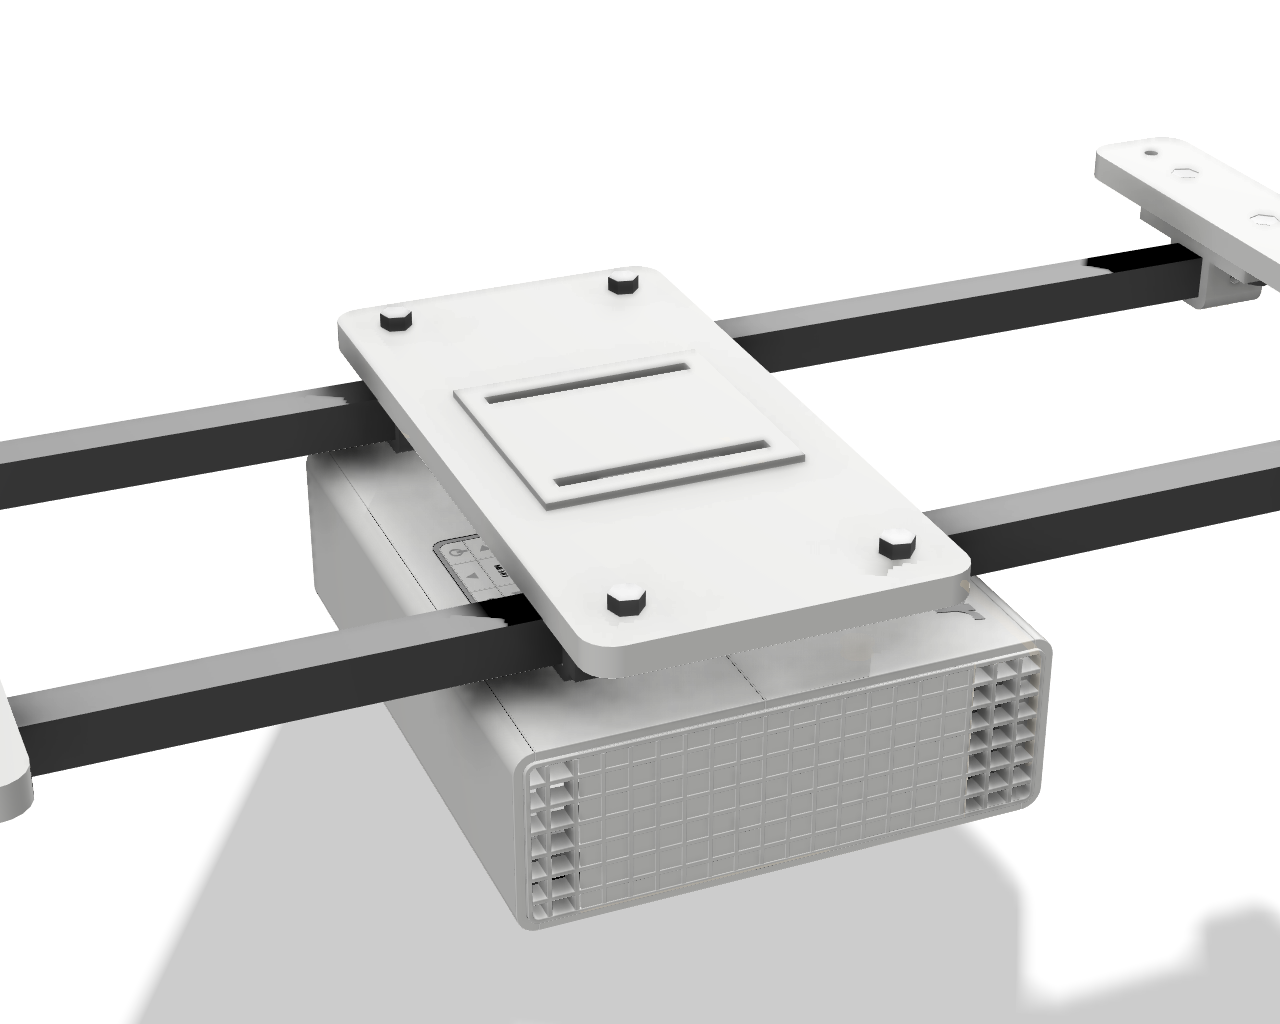
A highly adjustable sliding projector mount that makes it easy to set the precise position of any projector.
The Patent Pending SkyRail™ sliding projector mount allows you to slide your projector along a track to easily adjust the distance between the projector and the screen. The SkyRail™ is available in multiple sizes, and is the ideal solution for many complex projector mounting scenarios. We believe it is the best golf simulator projector mount on the market!
The flexibility of this adjustable projector mount makes it easy to install any projector at the perfect position!
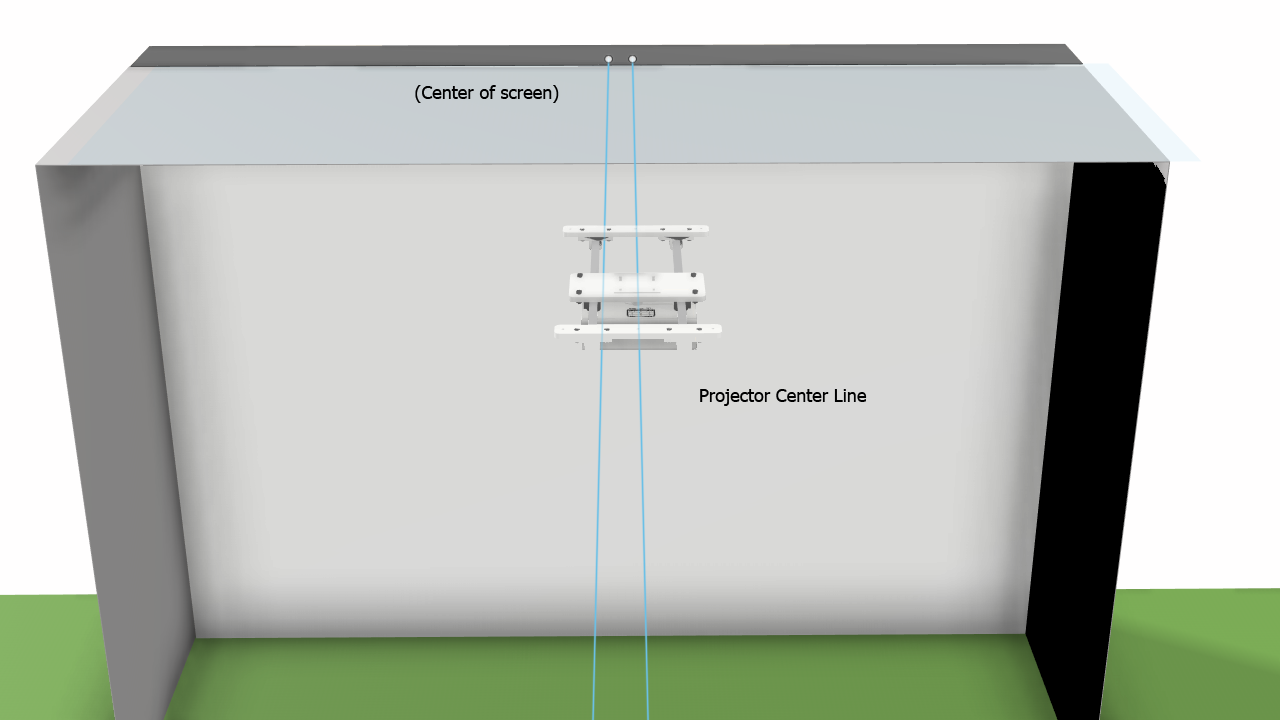
Most projectors must be mounted at a precise orientation to the screen in order to fit your image perfectly. Rather than struggling to locate the exact spot to mount your projector, order the SkyRail™ adjustable sliding projector mount!
Video Introduction to the SkyRail!
SkyRail Sliding Projector Mount Features and Options:
-
FOR FLAT CEILINGS:
- Our universal flat projector mount can handle projectors weighing up to 25 pounds on flat ceilings. This projector mount rides on top of the sliding plate, placing it less than 1/2" below your ceiling!
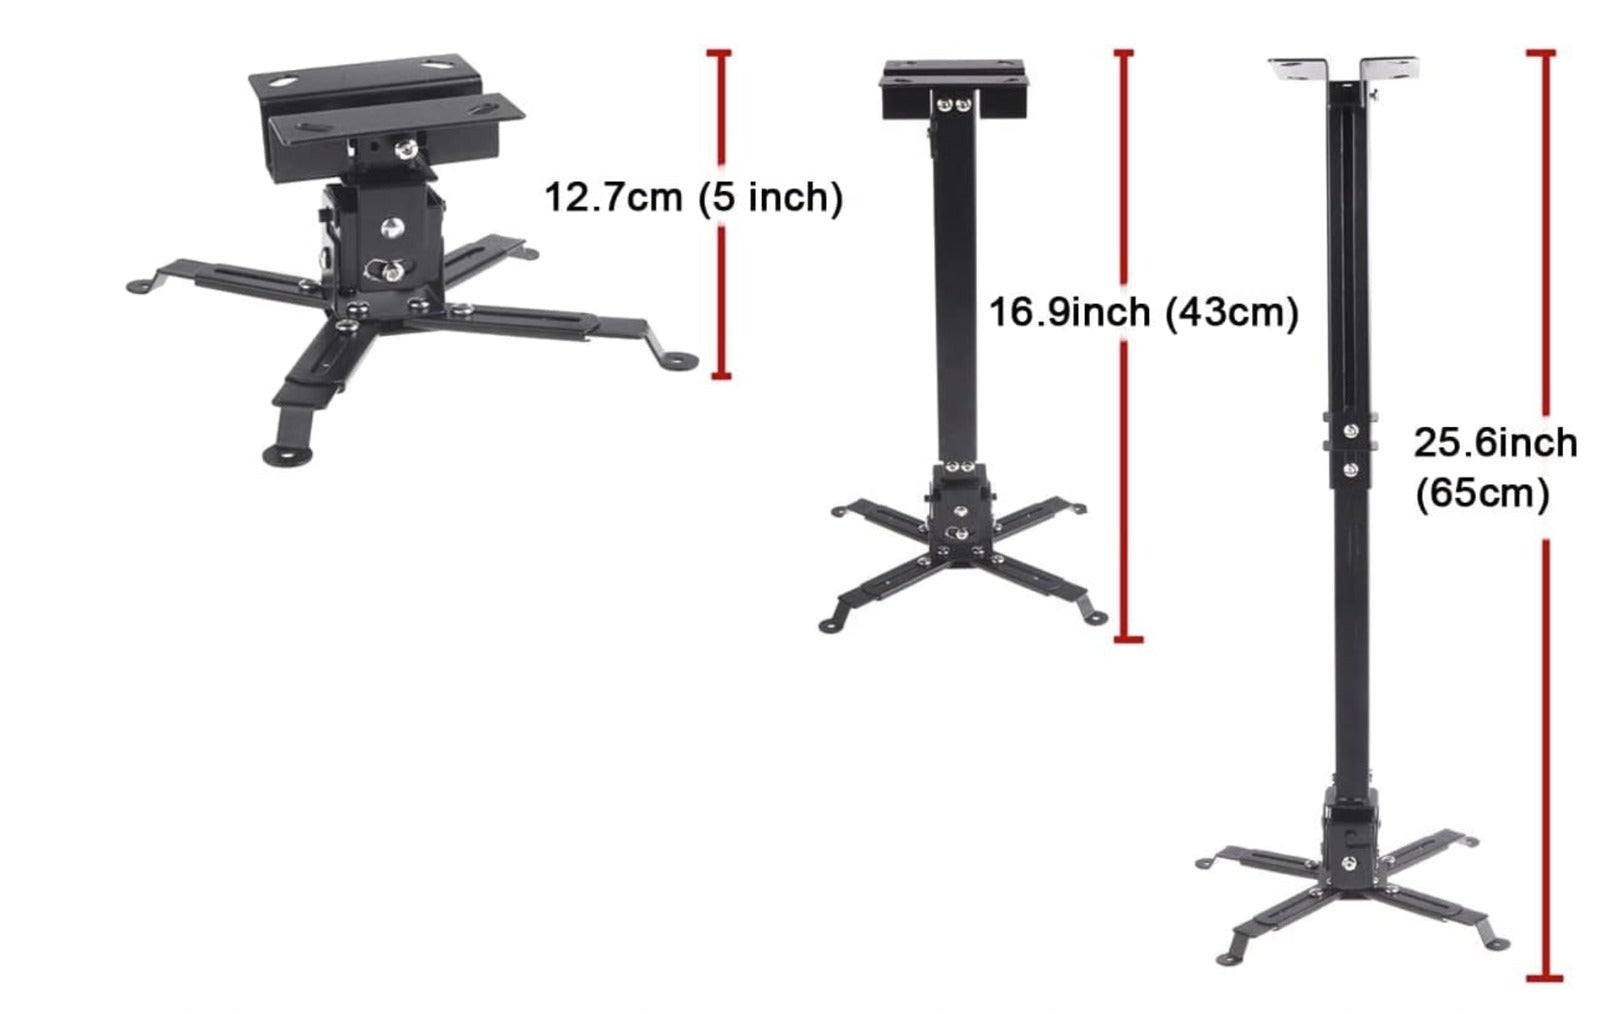
- The flat projector mount allows a range of heights for your golf simulation projector:
- 5.5" below the ceiling -or-
- Any range between 17" - 25" inches below the ceiling (when using the included extensions).
- Our universal flat projector mount can handle projectors weighing up to 25 pounds on flat ceilings. This projector mount rides on top of the sliding plate, placing it less than 1/2" below your ceiling!
-
FOR VAULTED/ANGLED CEILINGS:
- Our universal vaulted ceiling mount can swing up to 75 degrees in one direction, allowing you to attach your SkyRail to a vaulted ceiling in either orientation. This option can handle projectors weighing up to 25 lbs, and can be used on flat ceilings too.
- The vaulted/angled projector mount bolts to the bottom of the sliding plate, adding 1/2" to the range of heights for your golf simulation projector when compared to the flat mount:
- 6" below the ceiling -or-
- Any range between 17.5" - 25.5" inches below the ceiling (when using the included extensions).
- Our universal vaulted ceiling mount can swing up to 75 degrees in one direction, allowing you to attach your SkyRail to a vaulted ceiling in either orientation. This option can handle projectors weighing up to 25 lbs, and can be used on flat ceilings too.
-
BLANK SLIDING PLATE FOR DIY OPTIONS:
- A blank sliding plate option is also available which provides a solid 1/2" blank slider to which you can attach your own projector mount. This option can support projectors weighing up to 25 lbs.
- The blank 1/2" thick plate offers a 6" x 6" mounting area for your projector mount. If your projector mount requires a larger mounting area just let us know!
- A blank sliding plate option is also available which provides a solid 1/2" blank slider to which you can attach your own projector mount. This option can support projectors weighing up to 25 lbs.
-
COLOR OPTIONS:
- We offer white or black components to match any decor.
Customization Options: You can order your SkyRail™ sliding projector mount with a custom track length and/or width. The heavy blank sliding plate can also be customized for any projector mount. Just reach out to us to discuss your needs!
Compatibility: The SkyRail™ sliding projector mount can be used in any application, including any golf simulator enclosure, home theater projector, or screen. The SkyRail™ can attach to studs or drywall for a secure and safe installation of your golf simulator projector.
Looking for a sliding mount for a heavier device, such as an overhead launch monitor? Check out our Overhead Launch Monitor Slider here!
Which Size should I choose for my Sliding Projector Mount?
Use this simple formula to calculate the Sliding Range for the Projector:
(Span Length - 11" = Projector Sliding Range)
-
Our standard lengths of 24", 32", or 48" allow you to anchor the SkyRail™ to your ceiling joists/studs at both ends if your studs run parallel to your screen. Just make sure of your stud spacing when ordering. These models position the mounting slots on precise centers for the easiest installation possible!
- Choose the 48 inch span if you plan to use your projector in both 4:3 and 16:9/16:10 aspect ratios, or need the maximum slide range possible. The projector slide range will be 37".
Custom track lengths and widths are also possible... just give us a call!
Frequently Asked Questions about the SkyRail™ Sliding Projector Mount
-
How strong is this sliding projector mount?
The SkyRail™ is incredibly strong! We have tested it with over 50lbs hanging from the 1/2" thick heavy plate. We rate it at 25 lbs.
For added security, you will want to hit a stud in your ceiling with at least two of the mounting screws.
-
How can I operate my projector in both 16:9/16:10 and 4:3 modes?
With our extended 48 inch SkyRail™ sliding ceiling mount you can enjoy the 4:3 format for golf simulation and the HD 16:9/16:10 format for movies simply by sliding the projector to the correct position when switching between formats!
NOTE: Please confirm that throw distance between the two desired formats is no more than 37" for your projector. -
Does this sliding projector mount work on vaulted or slanted ceilings?
It most certainly does! The SkyRail™ Sliding Projector Mount includes set screws that allow you to lock the projector in place even on vaulted or slanted ceilings!
Maximize the functionality of your projector while minimizing the difficulty of mounting it in the perfect spot. Order your SkyRail™ sliding projector mount today!
View the installation guide for the SkyRail Sliding Projector Mount.
You may also like
Payment plans are available during checkout!

