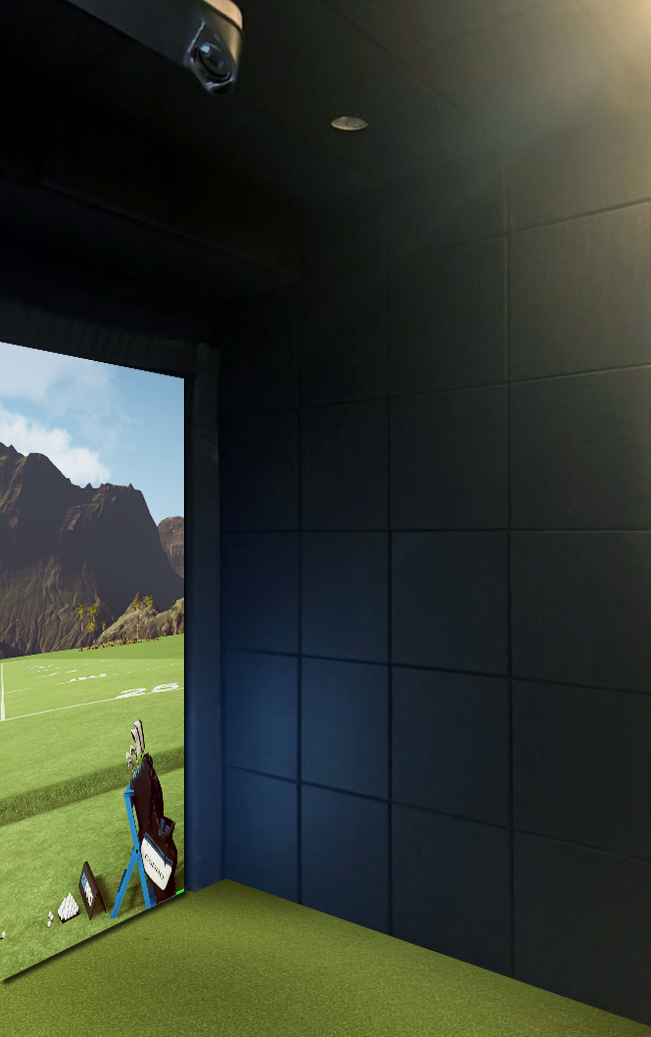
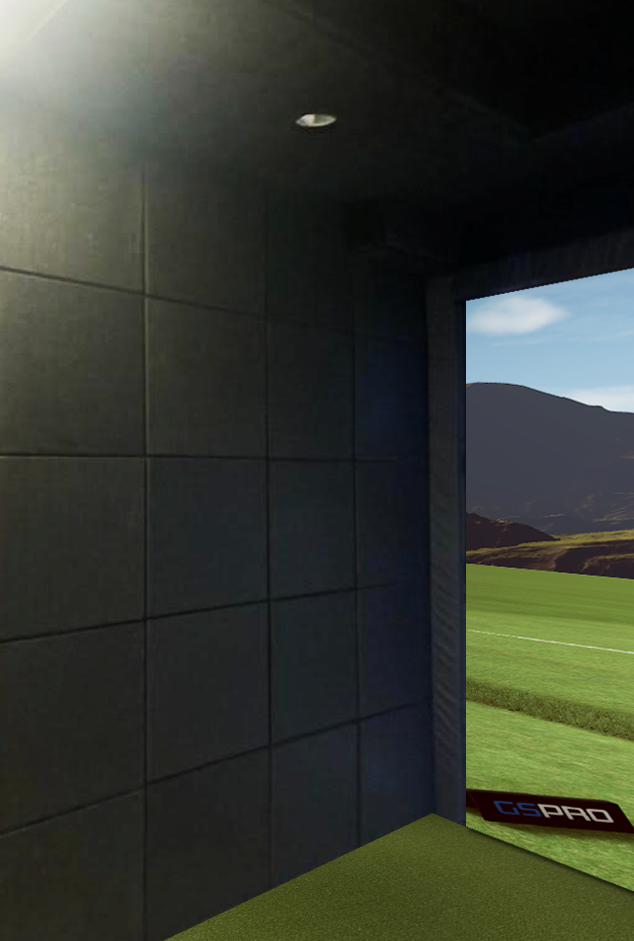
Golf room wall padding, golf tiles, and ceiling panels to protect your golf simulator room.
Our affordable wall padding tiles and ceiling panels will beautify your golf room while protecting your simulator space from ball marks, drywall holes, and other damage from errant shots.
Padding to Protect Golf Room Walls and Ceiling - Is it Optional?
Let's face it, we are all going to hit a wild golf shot from time to time. And our golf simulator rooms will eventually suffer damaged walls and ceilings unless we install protective panels that offer energy absorption, padding and redirection of the golf ball.
Golf simulator wall protection panels that won't break the bank - and look great!
You've probably seen the "hand made" foam golf pads that are offered by other vendors at exorbitant prices, and which, honestly, look like high school gym padding or boat seat cushions. It is impossible to get true consistency in the size and shape of such upholstered wall pads, which is why they look so awkward on the walls or ceiling. Is that really the look you want in your golf room?
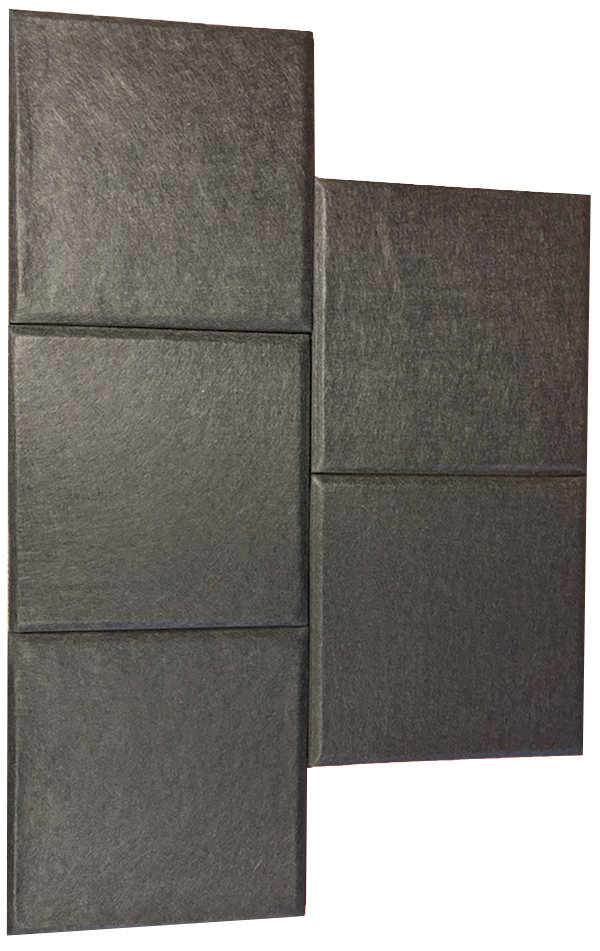
There is simply no comparison between low-rent manually upholstered products and our machine-cut solid synthetic golf wall tiles. Our wall and ceiling panels are consistent in size and shape, and fit together naturally to create perfectly geometric shapes that are aesthetically pleasing. Yet they cost much less than the competition!
Our light weight golf room wall and ceiling pads offer real protection and great looks at an affordable price.
Our golf sim wall panels are incredibly easy to install:
- Use a drywall chalk line to mark a straight line along your desired front edge on each wall from floor to ceiling and then across the ceiling. Set your first tiles along these lines.
- Work from the ceiling down, from front to back, aligning each panel with the previous row.
- Cut the last panels to fit with your floor or ceiling, and cut the rear most panels to align with your back wall. The tiles can be cut with a hack saw or jig saw, and the edges can be beveled to match using share scissors.
- Use larger panels to cover the area quickly, and smaller panels to finish at the perfect size.
Multiple ways to attach our protective panels to your golf room walls or ceiling:
-
#10 x 1" Black Truss Head Screws
These screws can easily be secured through the golf tiles and will nicely blend with the black tiles for a professional appearance. This is the most secure way to install our golf simulator panels on your walls or ceiling.
-
Construction Adhesive
Apply a light bead around the perimeter of each tile, and hold in place until the adhesive sets. This is a secure way to attach the tiles with no exposed screws, but does require some additional time for the adhesive to set. Consider this a permanent attachment.
-
Double-sided Tape
A quick way to install our golf wall protection tiles is by using "industrial strength" tape such as 3M. Consider this a permanent attachment.
*Recommended for wall applications only.
-
Adhesive Velcro Dots or Tape
Our golf room wall panels accept stick-on Velcro very well. Your walls should have a clean and smooth surface that is either primed or painted so the Velcro will stick to them too. A major advantage of this approach is that you can adjust the tiles as you go, and very easily replace a tile if you should ever need to.
*Recommended for wall applications only.

Order your golf simulator wall protection panels from ALLSPORTSYSTEMS!
- 1/2" thick panels with beveled edges.
- Easily and securely installs directly onto your walls. No complicated framework, Z-clips, or French cleats required!
- Synthetic material delivers a rigid yet forgiving texture allowing our panels to absorb energy without cracking or breaking.
- Light weight, easy to work with, and easily replaceable.
- Provide excellent wall and ceiling protection from stray golf shots.
- Did we mention how good they look?
Order yours today!
You may also like
Payment plans are available during checkout!


